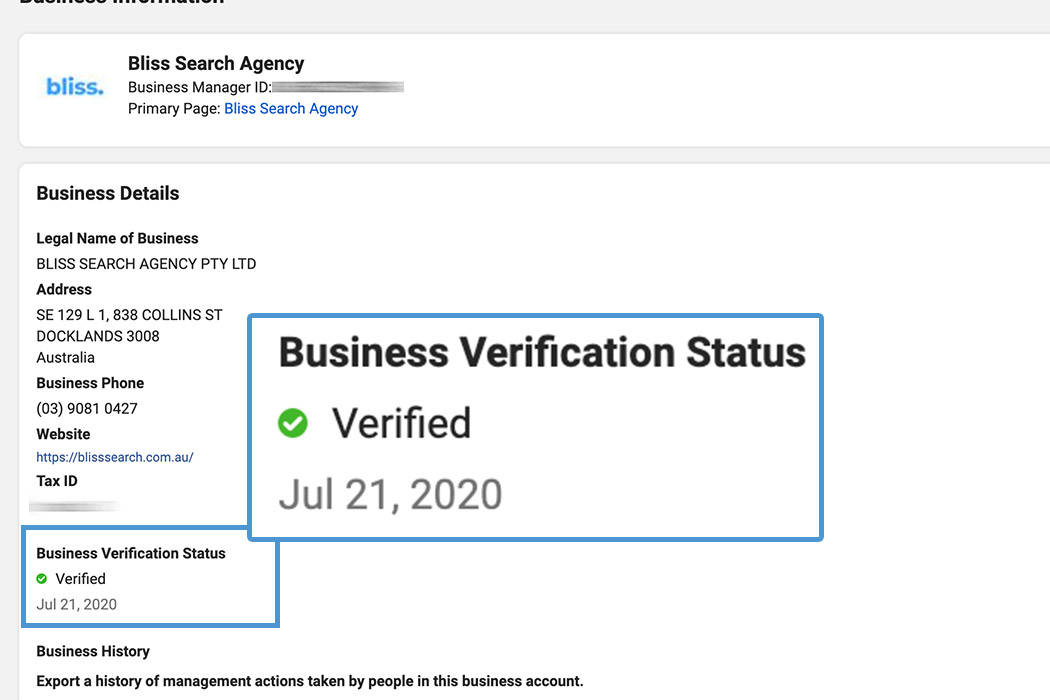
Facebook’s Business Manager isn’t completely new. But it’s been designed to solve the common problems of user access, who has access to what, integration, agency client management, collaboration partners.
Essentially ensuring those who are a part of your business, only have access to what they need and at what levels.
Why would you want to verify your business with Facebook?
Not every business needs to be verified with Facebook, only if you want access to some extra products and developer features, these can include[1]:
- Page Transparency
- WhatsApp Business
- News Page Index
- Instant Games
One of Facebook’s mission statement for verifying is to “make the Facebook platform safer”. Verifying with Facebook, you sit in line with this.

Let’s Verify your Business Mananger
You must be logged in using the Business Manager URL https://business.facebook.com/ and visiting Business Info on the left hand side. There are 3 steps or requirements needed:
- Two-Factor Authentication
- Backup admin added
- Business Verification
1. Two-Factor Authentication
Keeping with the theme of “safer”, this is required to be enabled. If Facebook detects a new device using your login credentials, it will also ask you to verify a code through text or an authenticator app.
2. Backup admin added
Exactly as the name suggests, another secondary admin to be added to the FBM with the same permission levels. So if one is locked out for whatever reason, the other is there.
3. Business Verification
Now this is where the “Start Verification” button can be blurred out and not clickable for most users. This can be blurred out because Facebook has decided you don’t need its other features. More about business verification.
- To get this enabled and continue onto full verification, all you need to do is create an app, start with the Facebook for Developers.
- Click on “Add a New App”
- Then choose “Manage Business Integrations”
- App Display Name can be your business name
- While Facebook suggests it’s optional to have a FBM account connected, I recommend this step. You should have a FBM anyway. The more you follow, the more you are tying into the theme of “safer” for Facebook.
- Once all the above is done, return to the Security Center and refresh this page.
- You should now see “Start Verification” is clickable.
Continue on, and you will just be required to provide documents on your business to verify it’s name, address, contact details, etc.
As we all know, Facebook’s Business Manager can be a maze especially if you have rushed its setup from the beginning. It’s important that your business owns its own assets including Pixel/analytics data, and who has access to it.
If you are still having trouble with any part of Facebook’s platform, just send us a message.


